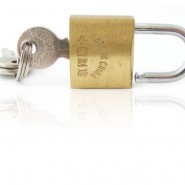
 In just a few easy steps, you can create a modern looking reflected image in PhotoPlus X4 with a little help from masking and opacity settings.
Here’s how it can be done:
Create a New File
Create a new file 500 pixels high by 700 pixels wide with a white background. Open the image you want to use, here we’re using an image of a lock and keys, then copy the image using Ctrl + C and paste it into your new file as a new layer using Ctrl + L.
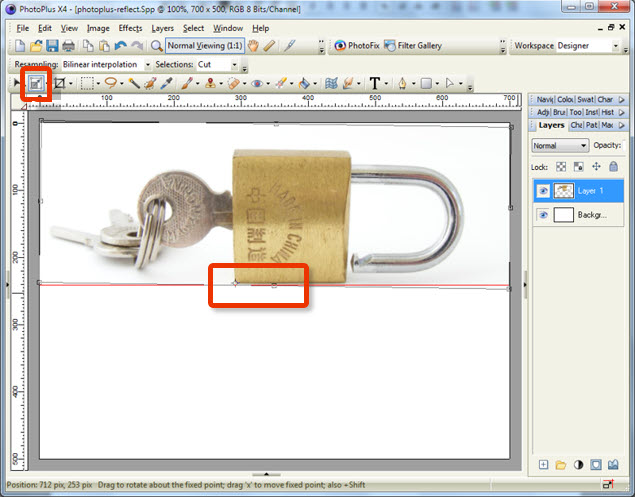
After pasting your image in, check that the bottom edge of it runs directly along the horizon, if it doesn’t, correct this first:
1. Add a guideline positioned where your horizon should be by clicking on the left ruler
2. Using the deform tool, drag the central rotation point to the point at which you want to rotate the image around, in this case the bottom left corner of the lock. Then, rotate the image by dragging on one of the outer corners of the selection (rotation takes place when the cursor changes to a curvy arrow) until the bottom of the image sits along the horizon. Deselect by clicking on the Move Tool (or by pressing the “v” key).
Prepare the Reflected Image

Duplicate the lock image layer by right clicking it and choosing duplicate from the top of the context menu then, with this new layer selected, flip the layer vertically by choosing Image/Flip Vertically/Layer from the top menu.
With the duplicate layer still selected, move the image down until the bottom edges of each image grace each other.
Blend the Reflection Layer Using a Mask
Still with the reflection layer selected, draw around the image with the rectangle selection tool, coming in as tight on the top edge as possible, then click the mask icon – ![]() – at the bottom of the layers pallet.
– at the bottom of the layers pallet.

Blend the Reflection
With the selection still active, choose the gradient tool from the toolbar, and choose black to white gradient. Place the mouse cursor at around half way down the selected area and, with the shift key pressed (to keep the direction straight) drag up to the top of the selected area, release the mouse. You should now have a partly masked reflected graphic.

Adjust Layer Opacity
To give a real look and feel to the reflection, we’re going to reduce the transparency of the reflect layer so that it doesn’t look obvious. In this layer you can see two tiny thumbnails, one of the image and one of the mask, select the thumbnail of the image, then reduce the opacity using the slider at the top of the layers pallet, for this graphic I thinned it down to 20% opacity.

Tidy Up the Rough Edges
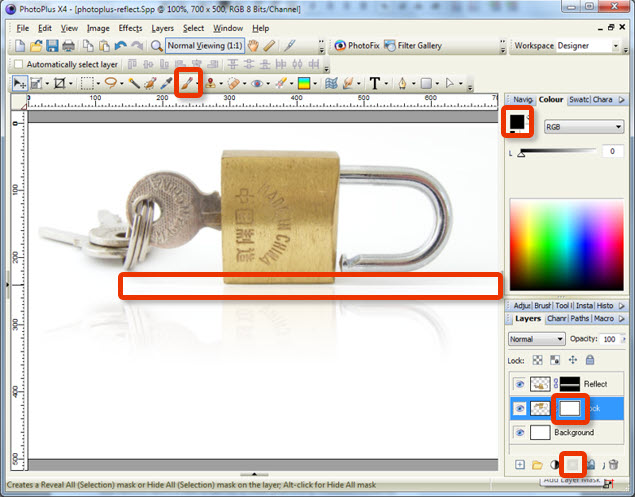
In the image I used, the grey background is quite prominent against the white, we can blend this out by adding a layer mask to our lock layer and gently stroking it to blend:
1. With the lock layer selected, click the mask icon at the bottom of the layers pallet.
2. Select the brush tool and choose a soft brush, set this to 35 Opacity, and size 35
3. Check that your foreground color is set to black and the mask thumbnail of the layer is selected
3. Gently stroke along the hard edge to blend it into the white background, repeat this on the reflection mask too.
And there you have it, a really simple way to create great looking reflections in PhotoPlus.


 Create professional websites and online shops without programming:
